Can’t wait to dive into your decorating project, but you don’t know where to start? We’ve got you covered.
You’ve chosen a colour scheme for the walls, compiled all the right tools and you’re ready to dip your brush in. The only problem is, where on earth do you start? There’s no need to panic or rush to call a professional. Just remember how much money you’re saving by doing it yourself! Instead, simply breeze through the process with our ultimate guide to decorating. Wall painting in the right order ensures you avoid any headaches along the way. Best of all, it’s so much easier than you think.
Step one: start with ceiling paint
It always pays to aim high, so look to the ceiling to start your decorating project and work your way down. This way, you’ll avoid those pesky drips landing onto freshly painted areas. To make it ultra-easy, try a paint such as Dulux Magic White Matt emulsion which fades from pink to white in under one hour, ensuring you don’t miss a spot. First up, clean the ceiling, fill in any holes or cracks and sand it down. Then, mask your fixtures to protect them and get ready to dip your brush into that lovely fresh ceiling paint.
It’s best to paint around your fixtures first, before tracing around the ceiling line, otherwise known as ‘cutting in’. When you’re ready to move onto the larger area, consider using a roller pole so you don’t have to spend so much time on a step ladder or stretching your body into awkward positions. Place your roller in a corner by a window and branch in from there. Once it’s dry you can repeat the process with a second coat, remove the tape and step back to admire your new ceiling.
Step two: wall painting
Repeating the process for ceiling paint, the first steps are to clean the walls, remove window treatments and tape off any fixtures. Check carefully for holes and cracks, fill them in and allow to dry before sanding your walls back.
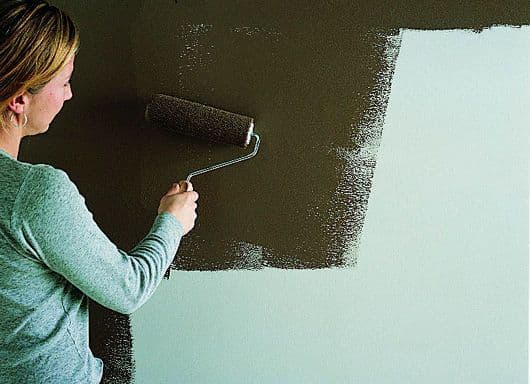
Start painting at the top and cut in around the edges of the wall and your fixtures with a paintbrush. It’s easiest to work with small sections of wall at a time, so aim for about three feet each when it’s time to load up your roller. Then, paint in a vertical direction using a zig-zag pattern. When you push the roller upward on the first stroke, forming a ‘W’ pattern helps to evenly distribute the paint on the roller. Fill the pattern in without reloading until you’ve covered each small area, then continue on to the next one until your masterpiece is complete.

Step three: windows, doors and skirting board paint
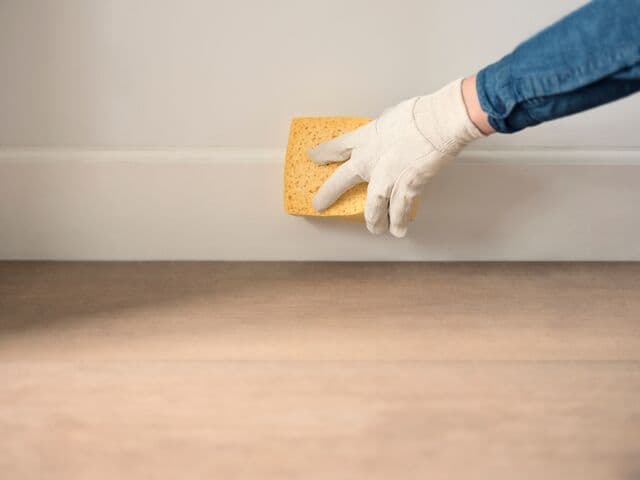
The last steps in your guide to decorating include the windows, door frames and skirting boards. Unless you’re wallpapering a wall, it’s best to paint the skirting last to reduce the risk of your brush picking up dust or carpet fibres.
Start with your windows and doors first thing in the morning, to allow a full day for the paint to dry before you close up the house in the evening. A similar process applies to all trim and the first thing you need to do is brush down the surface, then fill in any cracks or nail holes with Polycell. Clean off the excess with a damp cloth, wait for it to dry and lightly sand it back. Next up, protect your wall by masking it off with tape and dip your brush into your skirting board paint. When the first coat is dry, sand it back, brush off the dust and apply the second coat. That’s it!

Dulux paint tester pots
You might be thinking this all sounds easy enough, now that you’ve got a step-by-step guide to wall painting. However, what if you’re still stuck trying to choose the right colours? The best way to stop second-guessing yourself is to try out your ideas before you commit. Dulux Roller Tester is the answer, so you can paint some sample swatches and see how they look before committing to buying the whole paint bucket.
Now you’re ready to pick up your trusty guide to decorating and paint your ceilings, walls and trims with total confidence in a fantastic outcome. You’ve got this!


